Word on the street is that The National Trust is the place for fully immersive, cultural experiences. So of course, with the Easter holiday coming up, we had to live up to that reputation! We went to an authentic maker of traditional kites. *Boom* Yes, you read that correctly- straight to the source, live, up close and personal, to see and learn the techniques straight from an OG kite-maker. (Lol, Kidding! ‘Twas a socially distanced and masked endeavour, because we ALWAYS abide by COVID-19 protocols at this fine agency). I mean, is it even Easter if you’re not flying a kite in the Queen’s Park Savannah? Donkor, was more than happy to converse with us and demonstrate how paper kites are made at his shop called Booth I in St. James.
The kite maker
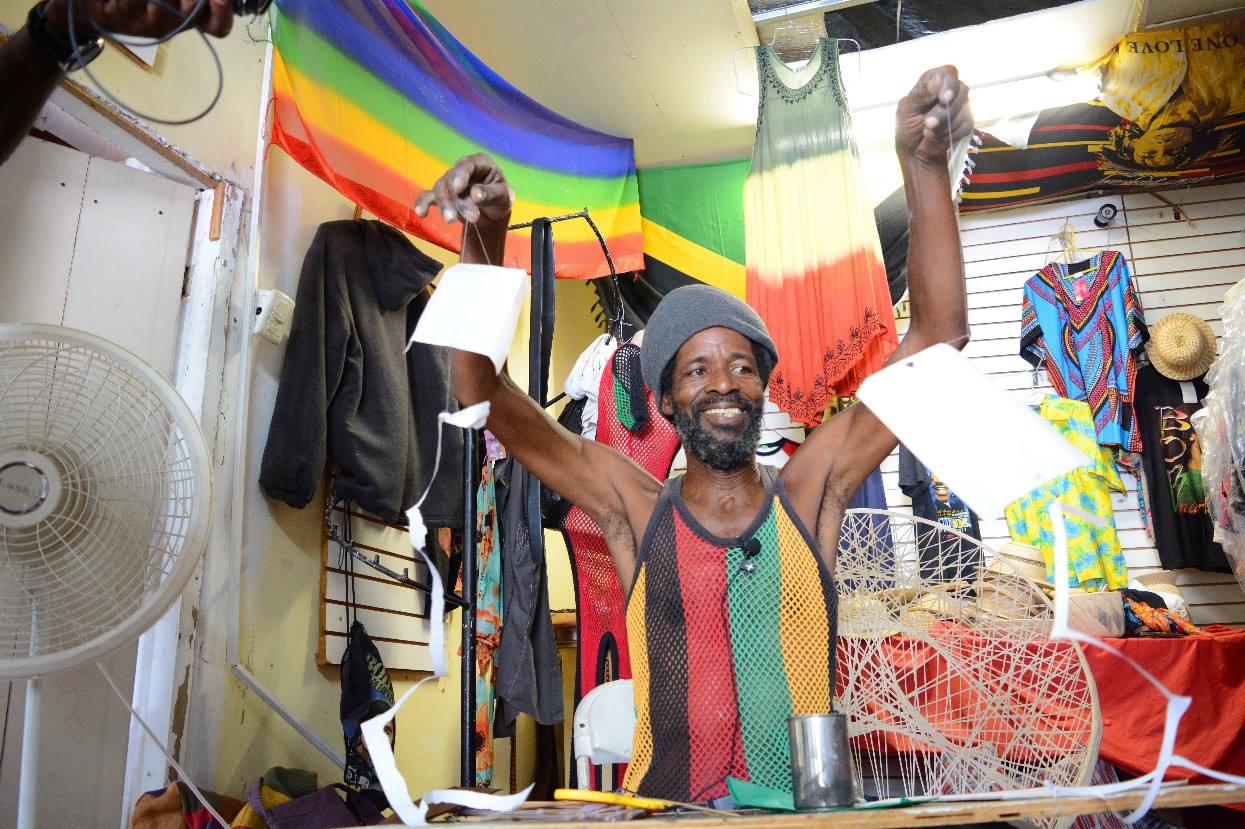
Wayne “Donkor” Flaverney, at 27 Kathleen St. has been blessed by the handicraft gods. He has been making Chickey-Chongs since he was 6 years old. At age 61, his kite-making days are alive and well, lemme tell you! Making crafts are a practise he enjoys- nay that he loves (his exact words, aww). He even got licks for flying kites (so that’s how you can tell the passion is true) when he was a child. He’d let out his kites so far, that the end-of-lunch bell would ring, and he’d still be reeling his kite back in. Sharing that handicrafts are what he does for living, and he has always been content to eat little and live long. Tracing his business owner origins to the Drag Brothers on Independence Square (serious throwback alyuh), our dear artisan began doing shoe repair work in the late 70s&80s. This son of the soil revealed that he also bought and sold provisions at the various markets, but always returned to craft making. Some of you may remember when he had his shop at the Savannah- an impromptu table under the trees, called “Image and Likeness Booth I”. From these humble origins, he has since moved to his permanent location in St. James, with a grand variety of hand crafted items at good prices. Sometimes, he works through the night, until his fingers are sore, pushing himself until his hands can work no more. #Dedication
Peep a few of his items:
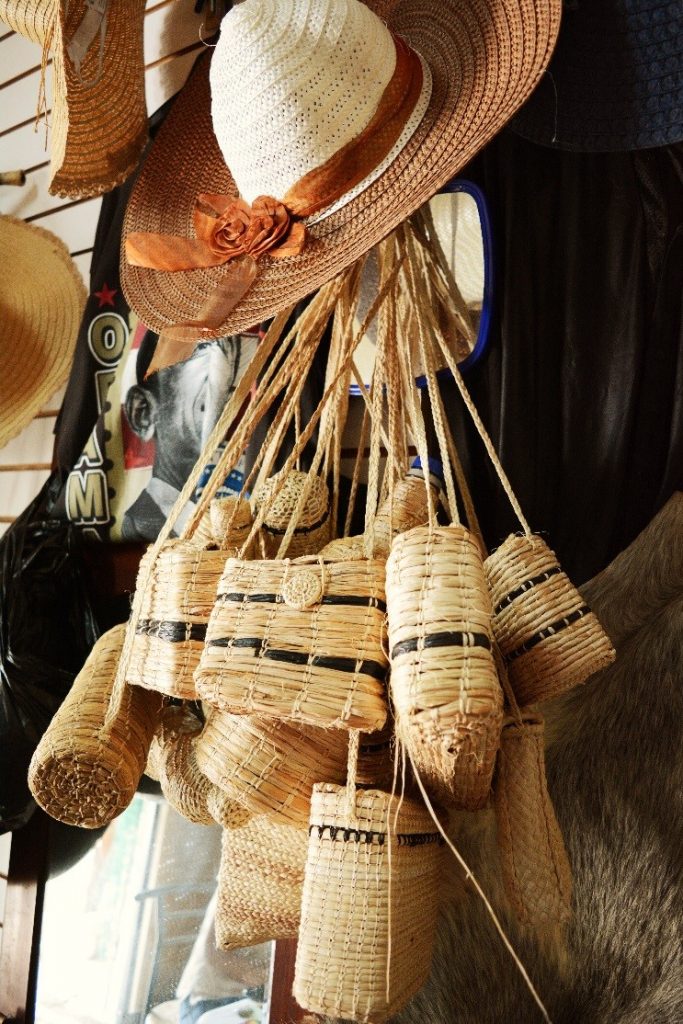
Woven hats and handbags by Donkor.
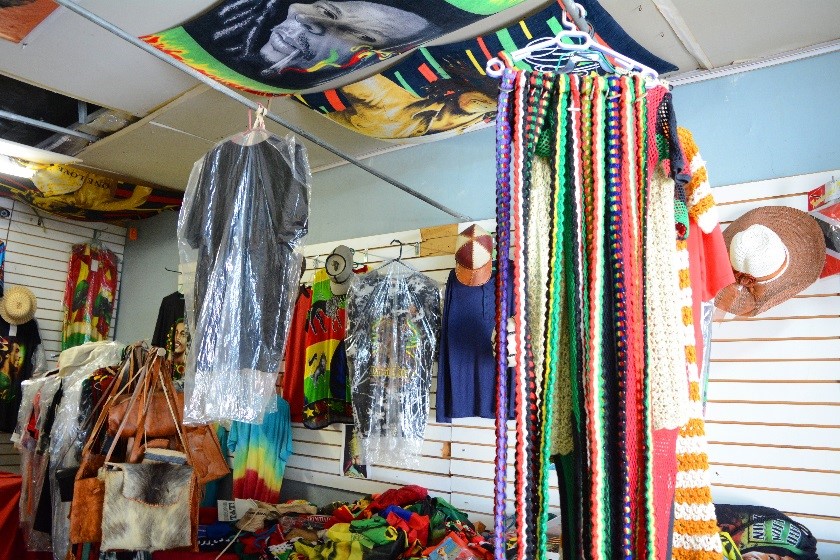
Dresses, Wraps and Leather hand bags
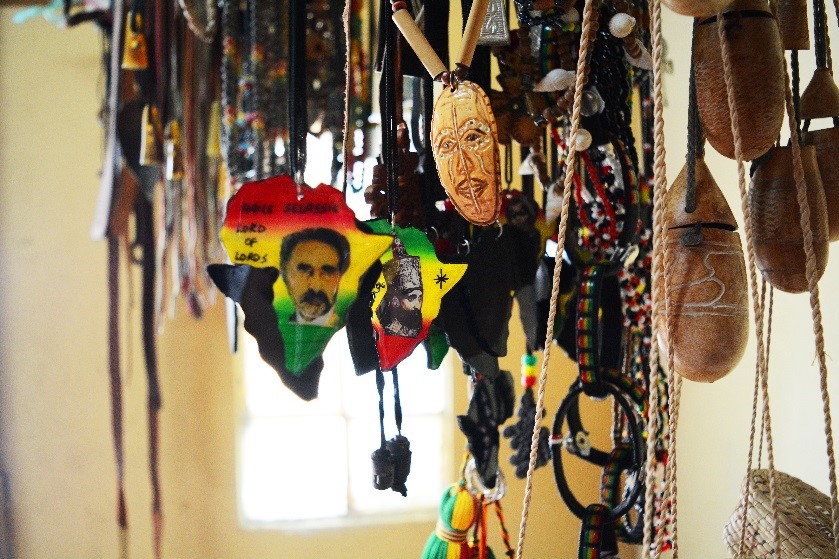
Hand carved Jewellery- necklaces.
Let’s continue to #SupportLocal so that vendors like Donkor can keep their doors open and continue our local traditions, for decades to come. Allow me to advertise on his behalf: Get your t-shirts or dresses, leather slippers, bags, woven hats, jewellery and calabash receptacles at Booth I, number 27 Kathleen St. in St. James! (I’m making it easy for you to Screenshot this for future reference, you’re welcome).
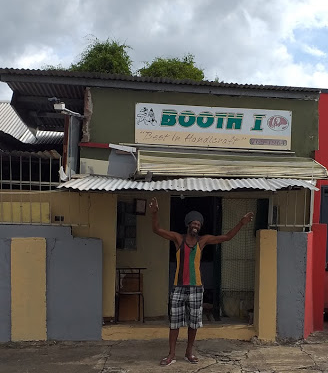
Donkor at his store Booth I in St. James
The materials
Kite paper, copybook paper, brown paper- any page you have on hand really. A small metal pot with a half cup of flour and a piece of orange peel or in lieu of the peel, bay leaf and water. Get a full spool of thread (you can choose any colour under the sun), and some cloth (half a yard or so- something bright and colourful). A handful of Cocoyea sticks and scissors end the list.
Kite Culture
Here is some Kite flying lingo, to get you in the spirit and frame of mind to create your own Flying sensation for Easter:
“Madge”- to cut other kites. (Mainly used to trash talk other flyers). This practise features cured flour paste mixed with broken Fluorescent bulbs, which is then applied to thread. It cuts other kits while in the air flying. “Shoppy kite”- these are made with brown paper and are very strong. There are several different types of kites- plain kites, batman kites (made of plastic), the infamous chickey-chong[1] (a simple, single page kite! DIY instructions are given below!), 4 stick and bamboo kites.
[1] This has to be the first kite every TT child ever made. Quick and easy, doesn’t require a lol of materials.
The process
Instruction time! The full kite-making process is detailed below AND I included diagrams so that you can follow along correctly (since that jerk COVID *steups* is stopping Donkor from giving group kite-making classes as he did in previous years.). Nonetheless, COVID won’t stop your creative juices! Take your time, and tag us in your beautiful creations using the one or all of the following hashtags: #HomemadeKites #KiteMaking #TTKites
Chickey-Chong Instructions.
This is a great option for those at the beginner level of kite-making.
- Get a single copy book page, tear it in half.
- Fold one end in, then the other end. Do this lengthwise on the page.
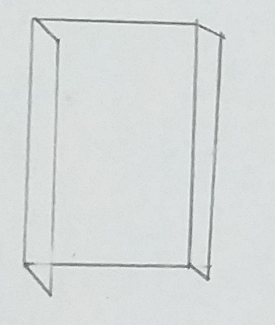
How your folded page should look.
- Make a tiny hole at the top centre and then bottom centre of the rectangle.
- Take your thread, put it through the top hole and tie the thread off above hole.
- Double up the thread and leave slack across the length of the kite. Tie this thread to the bottom centre hole. Leave a long piece of thread for the tail.
- Get another copy book page and tear a single continuous strip (go across the length and the width of the page, don’t separate these into pieces- keep ripping one continuous strip.) This is the tail of your kite- tie it unto the tail thread you made previously.
- The slack along the length is your compass, tie a longer piece of thread to this back piece, to be able to fly your kite.
Voilá, Chickey-Chong kite made! Good job!
Chickey-Chongs made by Donkor. Photo by Leslie-Ann Paul of the National Trust
Mountain bow kite
This is for more experienced kite-makers, and those who like a challenge. It is actually a plain kite, with a cocoyea bow and arrow giving it structure. These are called Mountain bow kites, because the peak of the kite is as high as it can be. This type tends to be able to fly higher than regular kites.
Happy crafting!
- Paste
In a small pot, place Flour and orange peel/ bay leaf. If you want to do “backyard style” like real kite-connoisseurs, then place your pot over an open, outdoor fire. Regular people can just place it on the stove, on low heat. Add a splash of water, stir gently until it is well combined into a thick paste. This entire step should take 30 seconds. Remove pot of paste from heat and allow it to cool.
NB: the peel/ leaf is essential for preventing bugs from eating your paste! Bachacs will destroy your kite if you don’t make your paste with one these. (Experts have attested to this, so heed the warning.)
- Mountain Bow kite (Plain kite with Bow & Arrow Format)
Using a square shaped paper (8”x*8”) turn it sideways so that it looks like a diamond. Get your cocoyea sticks. Bend 1 cocoyea stick from left corner of diamond, to right side of diamond (to make a bow shape onto the top part of the diamond).
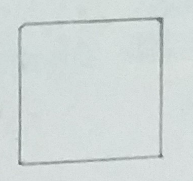 Square shaped kite-paper
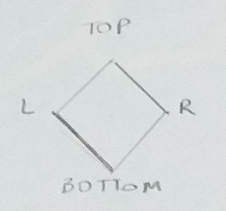 Turn it, so that you’re working with a Diamond shaped paper.
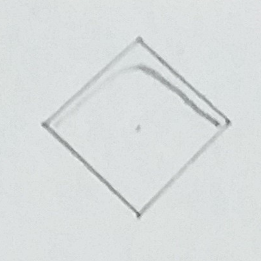 An idea of how your cocoyea should look as you bend it onto your paper.
Cut excess stick. Repeat this with another piece of stick. To get balanced kite- place thin ends with thin ends. (So you should have two even lengths of stick now).
Get thread, and tie thread to thin ends of cocoyea, and roll thread onto both sticks (wrap the thread around the sticks, tying them together), bit by bit. The sticks should now be together in 1 line. Wrap extra string around the base, to hold it/ secure it tightly.
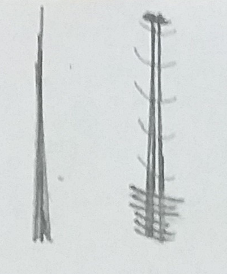 Cocoyea sticks: L- single stick, unwrapped. R- Pattern in which thread should be wrapped onto your two sticks.
Tie tightly to hold it, add two knots. Shape up the bow and bend the tied sticks onto your kite diamond shaped paper. Go from left end to the centre to the other (right) end. Stretch thread across centre of bow and tie to other end knot and secure. Bow is now made.
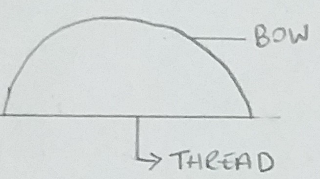
Next get a cocoyea stick, for the centre of your kite. Slide it underneath bow, and cut to length of diamond. For balance: match up the thicker end of your cocoyea with the lower part of kite and below, thin/ light part on top of kite paper. Don’t allow arrow to touch ends of strip/ next piece of kite paper.
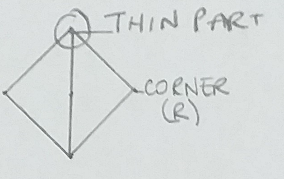
Using remaining kite paper, cut 5 strips (about 1cm x1cm square- very small). Next you must:
-
- Dip finger into paste
- Attach strip onto highest points of diamond (Top, bottom, left and right corners).
- Attach to corners (top and bottom) first, and try to be are perfect in your application as is possible. The corners of your 1×1 strips, must line up with kites edges.
- Repeat same on others corners.
- Make sure bows are even on opposite side before attaching strips.
Do not stick bow down.
-
- Attach fifth strip at centre so that it doesn’t mash-up from “shoo-shooing” (movement in the air).
- Let kite cure (drying in the sun is best) at an angle (Rest it down. Not flat on its back, kinda prop it up- but not in an upright position.) Put a stone in the middle of the kite.
Now, then when your kite is all dry and the paste has set:
Make “1 in and 1 out hole” at the top left side of the vertical bamboo stick, and then on the right side of the bamboo stick. Repeat this on the opposite side at the bottom.
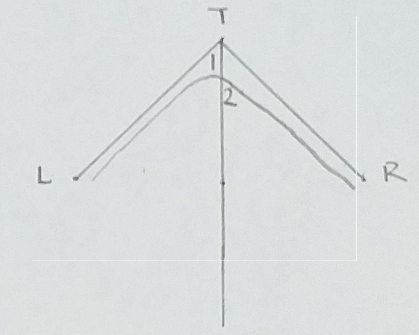 One in hole is to be placed where you see the No. 1& one out hole where you see the No. 2
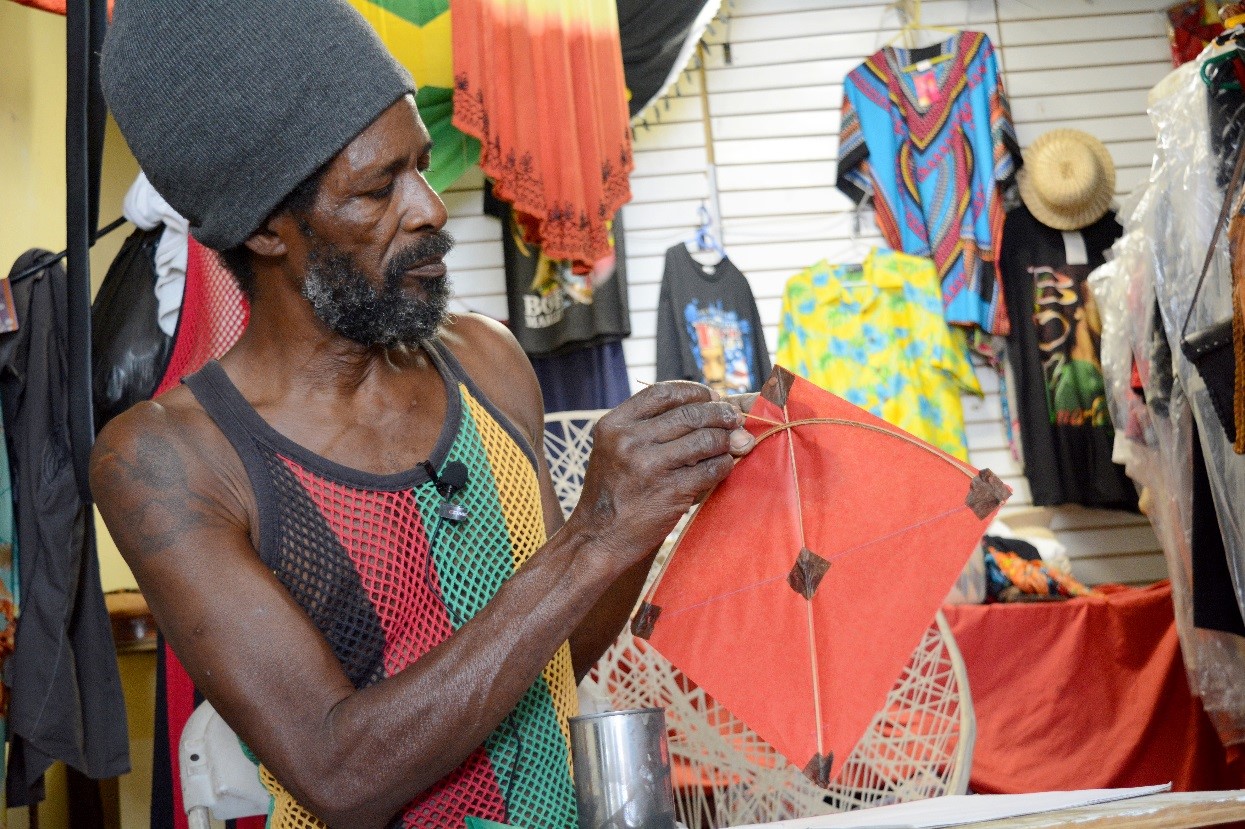
Your kite should look like this. See placement of Hole No. 1. Photo by Leslie-Ann Paul
Thread from the outside (where there is no bow and arrow). Start from top FIRST (the in hole), then go to the other hole (the out hole). Tie 2 knots, tightly, to hold your bow in place. Stretch thread across the length of only 2 sides of the kite (Thread A* is what I’ll call this). Note- only stretch the thread the 2 sides mentioned or else it will mash up. Also do not go over the edge!) Tie to bottom holes, make 2 knots. Tie thread to centre of loose thread with 1 knot. Pull thread up to 1st hole in bow. Thread should match up. Knot it tightly.
- Tail
We’re looking for length people. #Drama #FlyHigh
Whip out your cloth- we want a single strip (extra-long), and the longer the better. Remove any loose thread from the cloth tail. Rip/ cut cloth lengthwise. Do not cut off individual pieces- but turn the scissors and cut along width, then along the length, repeating this pattern, so you obtain one continuous strip (as you did for the Chickey-Chong tail, yes?). Knot thread around cloth as much as you can. Secure so it doesn’t come off.
Finally: Attach your spool of thread to centre (at location A*) thread at the back of the kite.
TA-DA! *wipes brow* You now have a bess homemade kite!
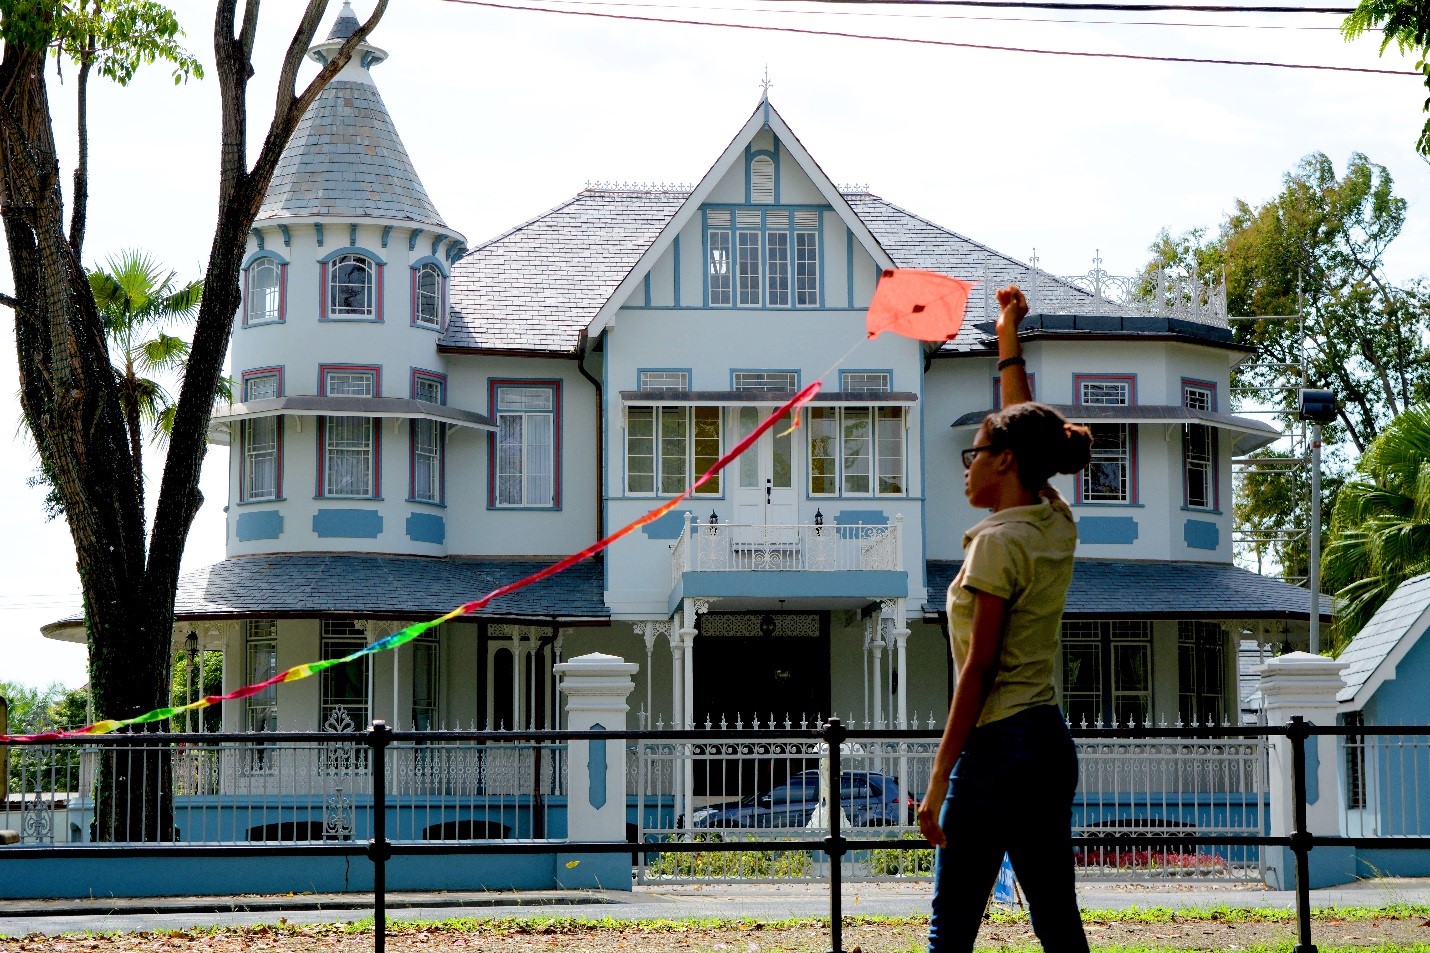
Dat is Kite!
My kite tail was SO long it couldn’t even fit in the frame! Photo by Leslie-Ann Paul
Our Experience
Easter is a wonderful time to be outdoors. Frolicking in the historic Queen’s Park Savannah, seeing your floating creation amongst the yellow and pink Poui blossoms… there is nothing quite like it. Your girl hot footed it from St. James to the QPS, to test out (and show off) her freshly made kite and let the Savannah Breeze work its magic. With Mille Fleur as our backdrop, I had a grand time letting my lovely red kite take to the skies.
The National Trust is grateful to Donkor for allowing us to witness this fine tradition, and allowing us into his workspace and shop. We are deeply appreciative of his kid decision to share this craftsmanship with us, and for also enabling us to use our various platforms to share it with the wider public.
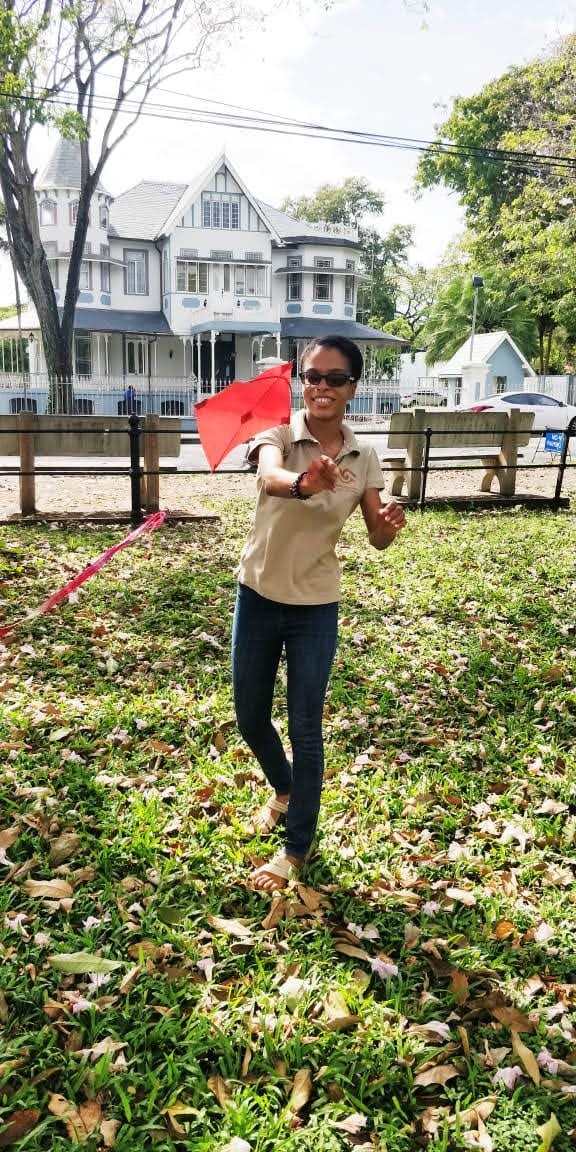
Up, Up and Away! Your trusty Blog writer flying the kite Donkor made for the #National_Trust. Photo by Joseph Bertrand
Author: Catherine Serrant, Research Assistant, NTTT

